-
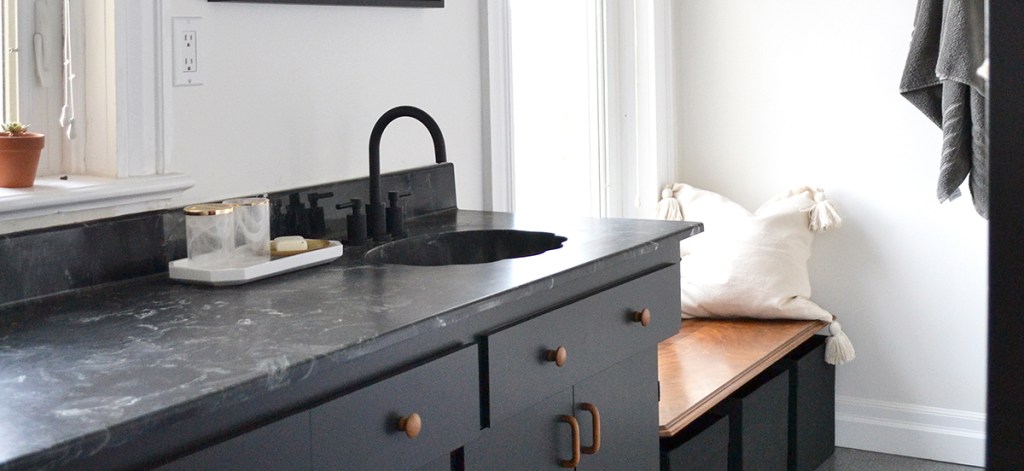
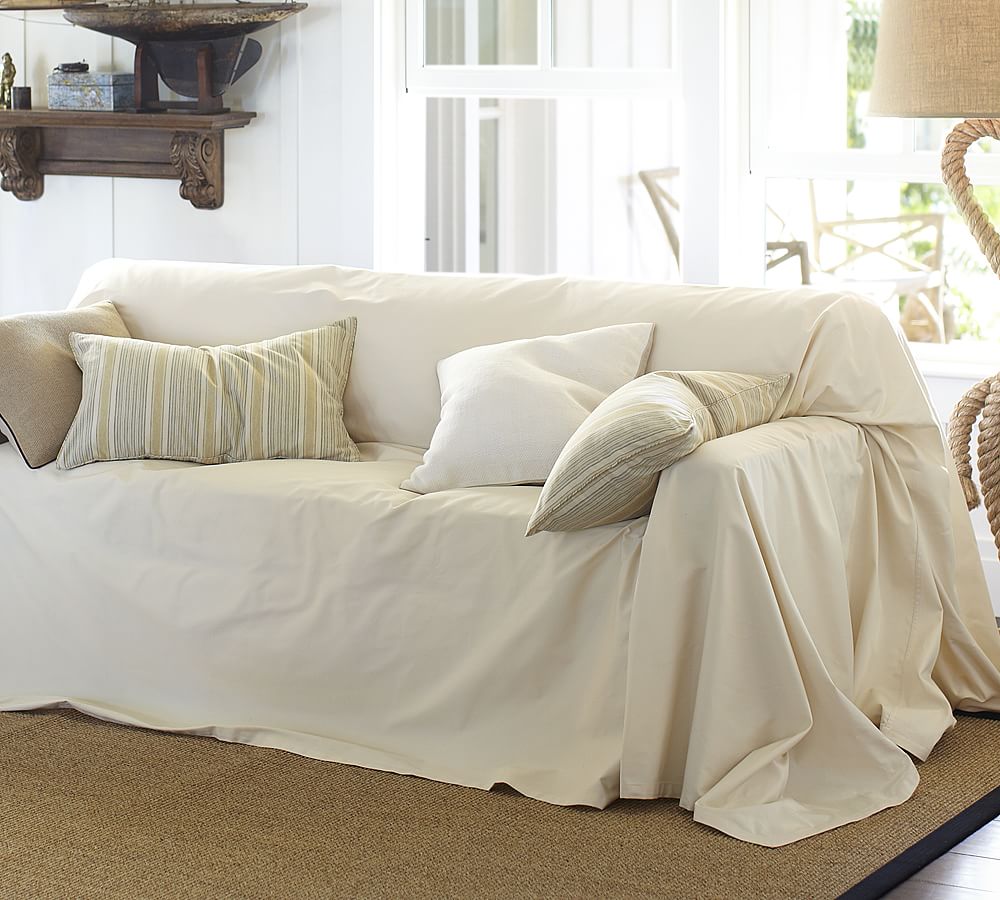
The Pros And Cons Of Drop Cloth DIY’s
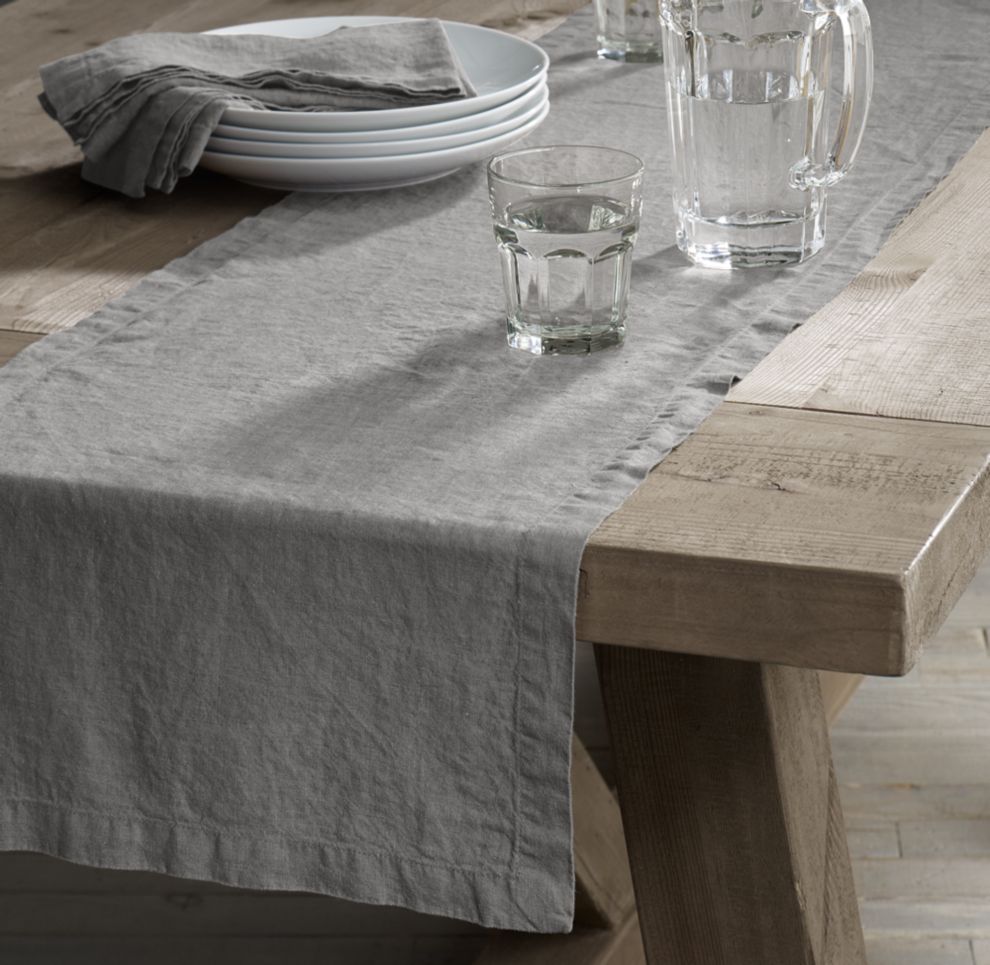
Update: My upholstered chairs are only a few weeks old and already they are showing severe wear. The structure of the textile itself is holding up fine, but it’s super absorbent when it comes to stains. Even though I diligently coated the drop cloths in several layers of Scotch Guard, every single morsel of food or drop of drink that spills on them leaves a blemish that is difficult to remove. I am going to take them outside this weekend for a thorough clean and bleach in the sun, to see if that improves. Based on my experience I would strongly recommend using drop clothes only on removalable upholstery fabric projects so that they can be washed and bleached. I still believe that they are a beauty economical fabric option, but perhaps not destined for dining room chairs.
Using painter’s drop cloth as an economical fabric choice for DIY and upholstery projects has been floating around the internet since at least 2010. That’s about six years, and yet when I set out to reupholster my dining room chairs with drop cloths I had a hard time digging up information about why it might not be such a great idea. Drop cloth DIY projects are too numerous to count, but very few people have reported anything negative about their experiences. I don’t consider the absence of evidence as evidence of absence though, so I hunted down every last morsel of Pinterest drop cloth DIY fails out there and took a good hard look at whether or not this project was worth my time.

I won’t claim this list is wholly comprehensive, so let me know if there’s something important I haven’t included here. Like I said, finding reasons to avoid using drop cloths was hard because everyone wants to create a positive blog post. Regardless, there are definitely reasons the drop cloth project might not be for you! (more…)
-
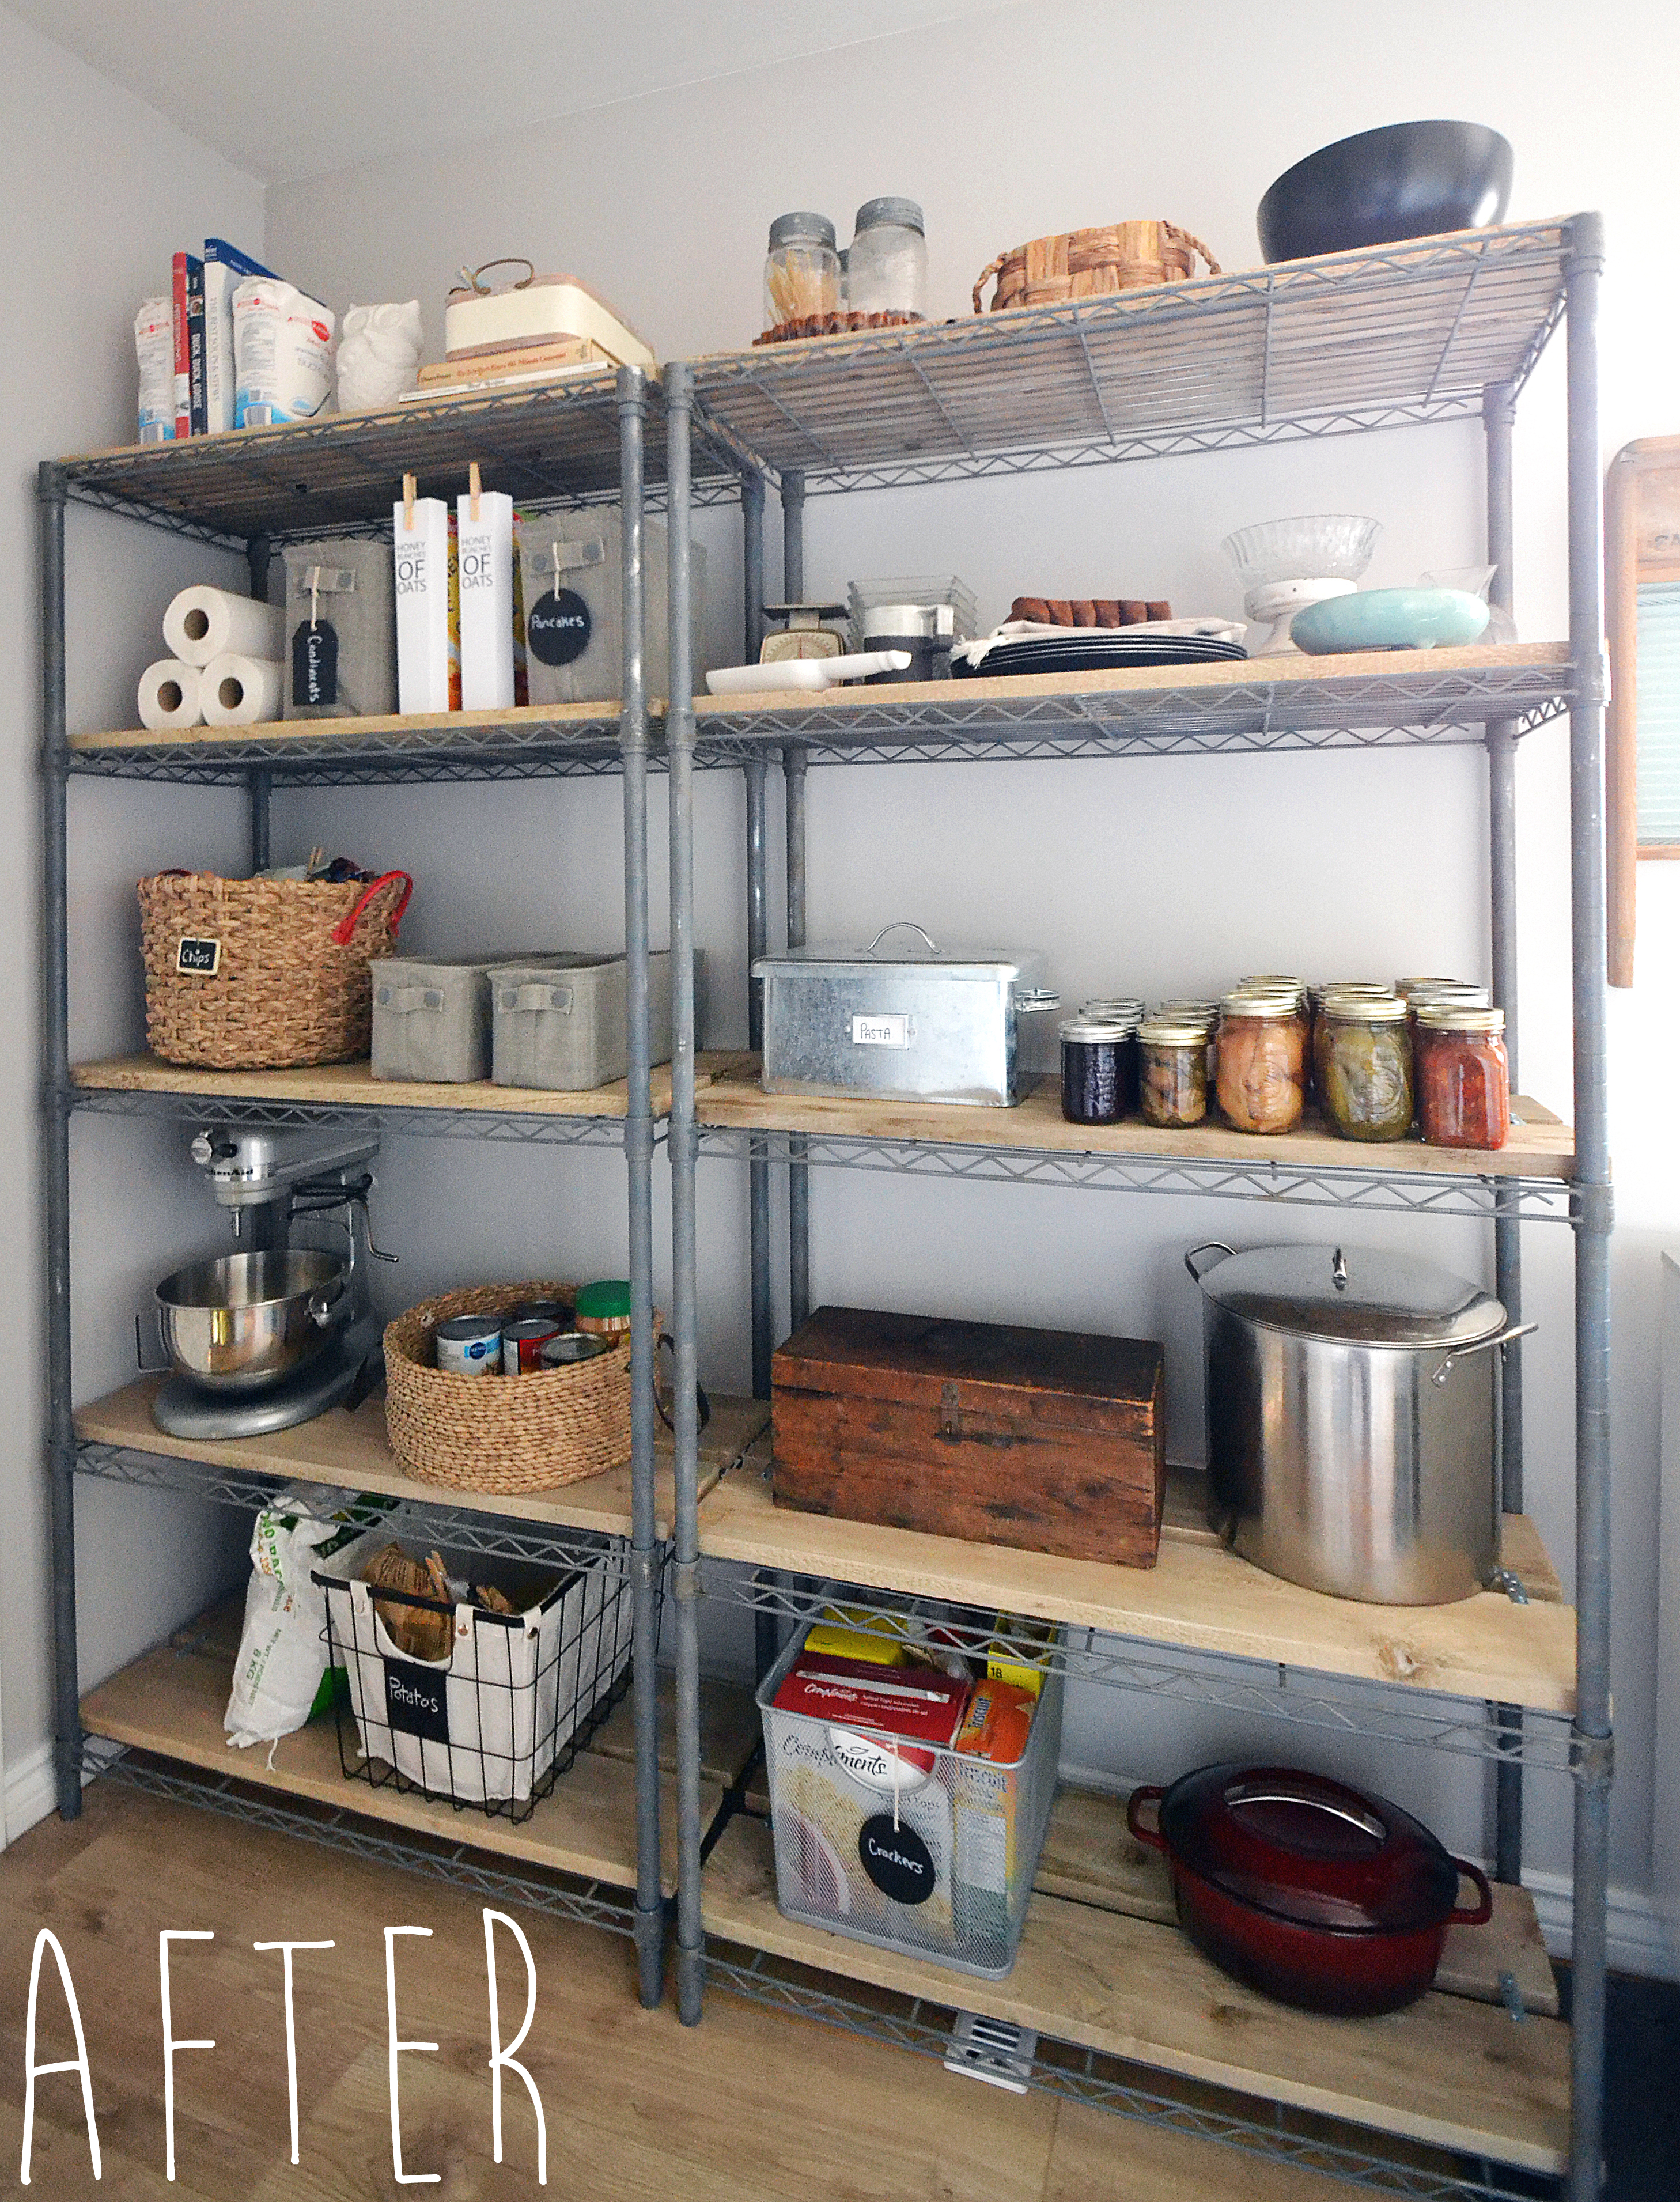
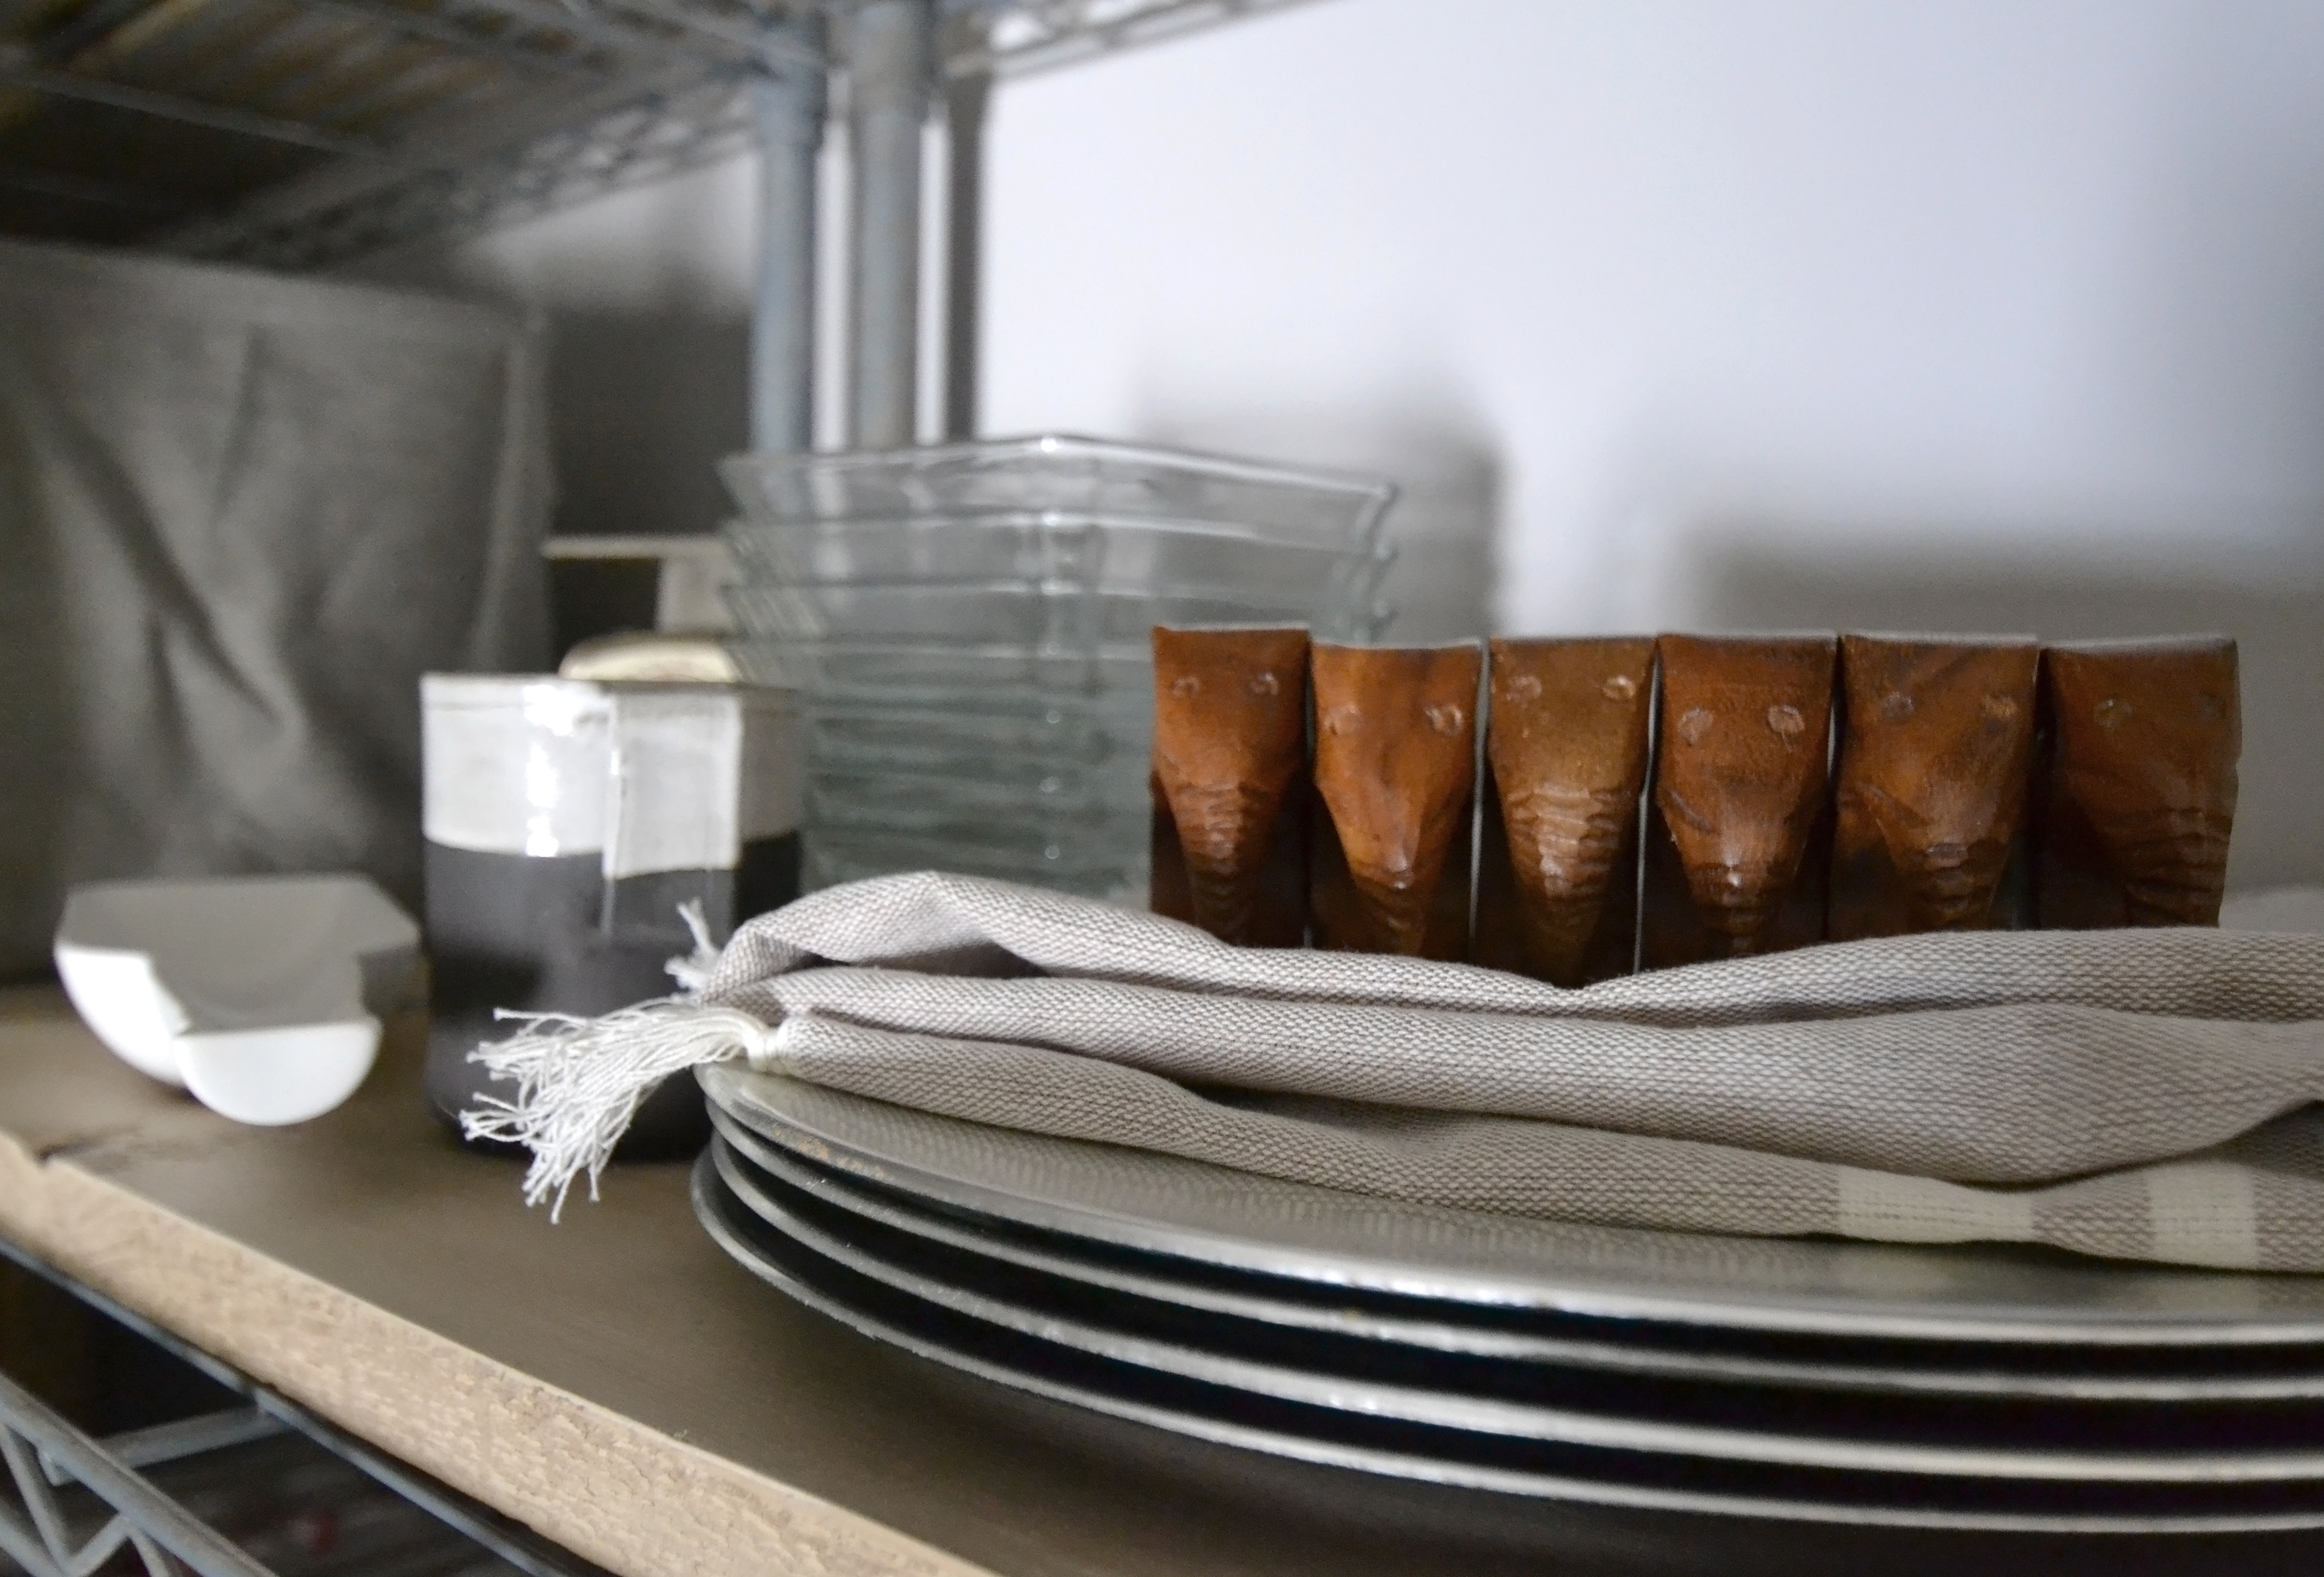
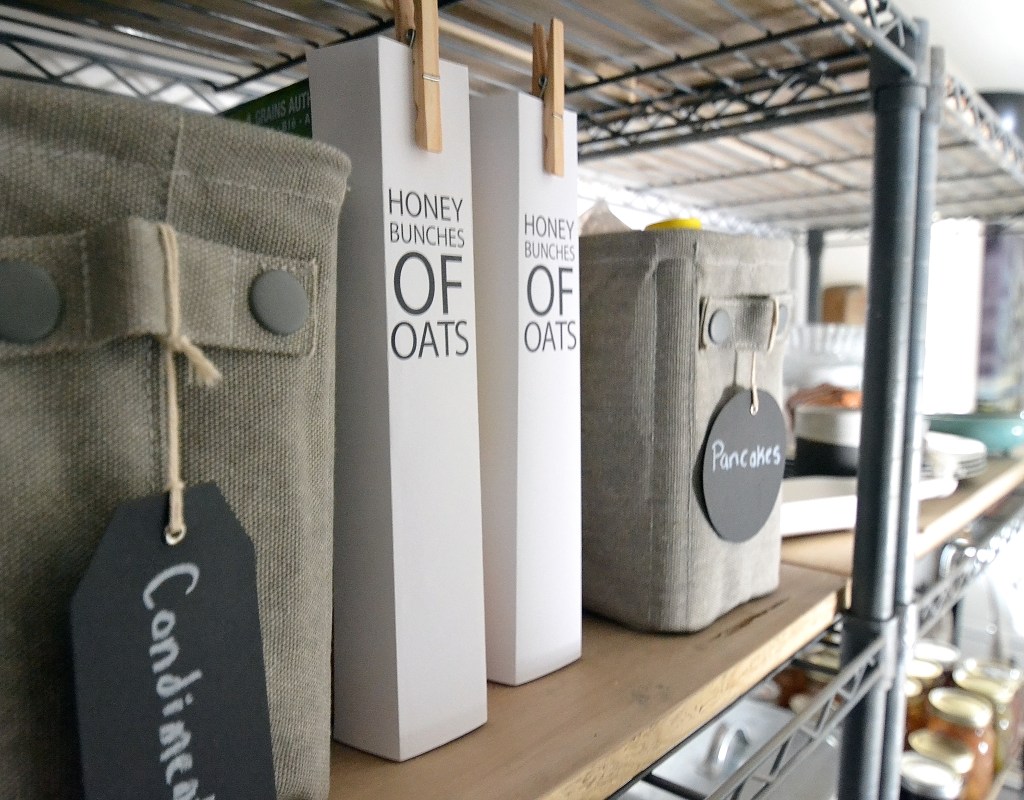
How To Give Pantry Shelving Easy Rustic Charm
Earlier this month I revealed my rustic pantry transformation to you, where I performed a wire shelving unit makeover. This is probably one of my favourite DIYs ever, because not only was it simple, easy and cheap, it really is mind blowing that such ugly chrome pantry shelving could be transformed into the finished product.

I didn’t go into a lot of depth in the reveal post because I wanted to devote an entire post to the process. Though this project required minimal effort and only a single day, it has a lot of steps and calls for some important technique. I have compiled all the steps involved and appended them with my tips, thoughts and lessons learned. I wasn’t able to find a single tutorial online, or even inspirational images, of a rustic wire shelving makeover, so I hope that you will be able to put this information to good use. Good luck with your metal wire shelving makeover! (more…)
-
Prickly Love: How To Embrace The Cactus Trend

I’m busy. So are you. Plants equal work. The cactus is your friend. The cactus is a dream plant. Just a little attention, and even less water, that’s all it needs. The cactus know that life is hard and doesn’t want to make it harder for you. Love the cactus. Love the cactus trend.
Some trends just pop out at me. Matte black, bleached woods, cacti. Sometimes I see these things and I just know they are going somewhere. When I saw pineapples I just kept flipping, I could tell they were going to be a short lived blip. But the cactus trend… it’s got me hook, line, and sinker. (more…)
-
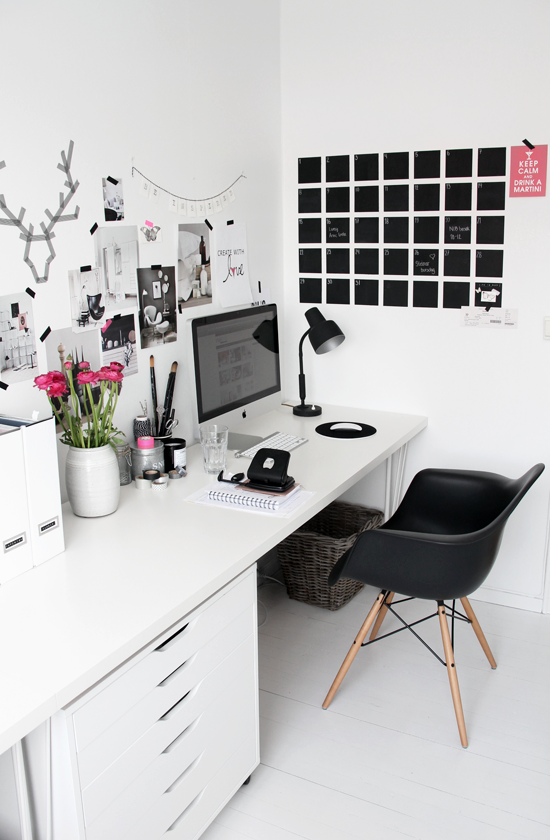
10 Best Things WAHMs Need In A Home Office

For a family that has a parent who works from home, the home office is a super essential space. You can’t work from home without a designated work space, and if you are a work-at-home-mom, with children in the house, that designated work space better come equipped with some keys tools and items to make life easier.

Home Office via Stylizimo I have now been a work-at-home-mom for three years, and I think I’ve learned a thing or two. If I was going to start all over from the beginning there would definitely be some things that I would do differently and I want to share them with you, to help you on your work-at-home journey.
(more…)
-
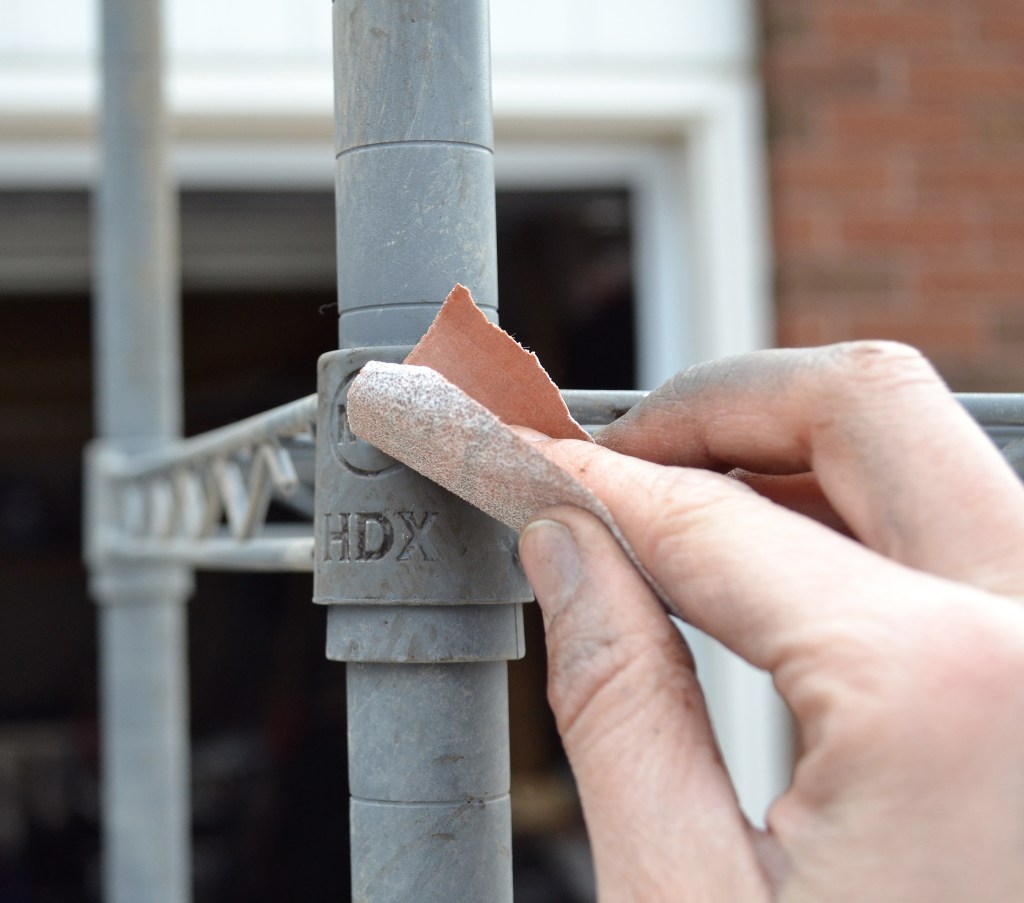
You Won’t Believe This Easy Pantry Shelving Makeover
Wire pantry shelving is a common type of pantry shelf, and by common I mean run of the mill and ugly as sin. It’s cheap, functional, practical, durable, sometimes hidden—sometimes not, but it burns the eyes and ruins the prettiest Pinterest inspired organization attempts. Replacing it will cost you time and money. So, don’t replace it, rejuvenate it, upcycle it, give it a fabulous rustic industrial makeover in a day. This project cost me $15 in spray paint and zinc mending plates, because I already had the wood and the shelves. Are you ready for the pantry shelving makeover reveal?

When we started our renovation I had two major items on my radar: a new kitchen and a laundry room. Before we did the reno our laundry “room” was more like a double-wide hallway open to the kitchen. Long before the wall was up I began daydreaming about the awesome laundry room-pantry combo we would finally have. I was going to build one of those industrial rustic pantry shelves made from pipe and barn board. My idea board was killin’ it. I had plans man. (more…)
-
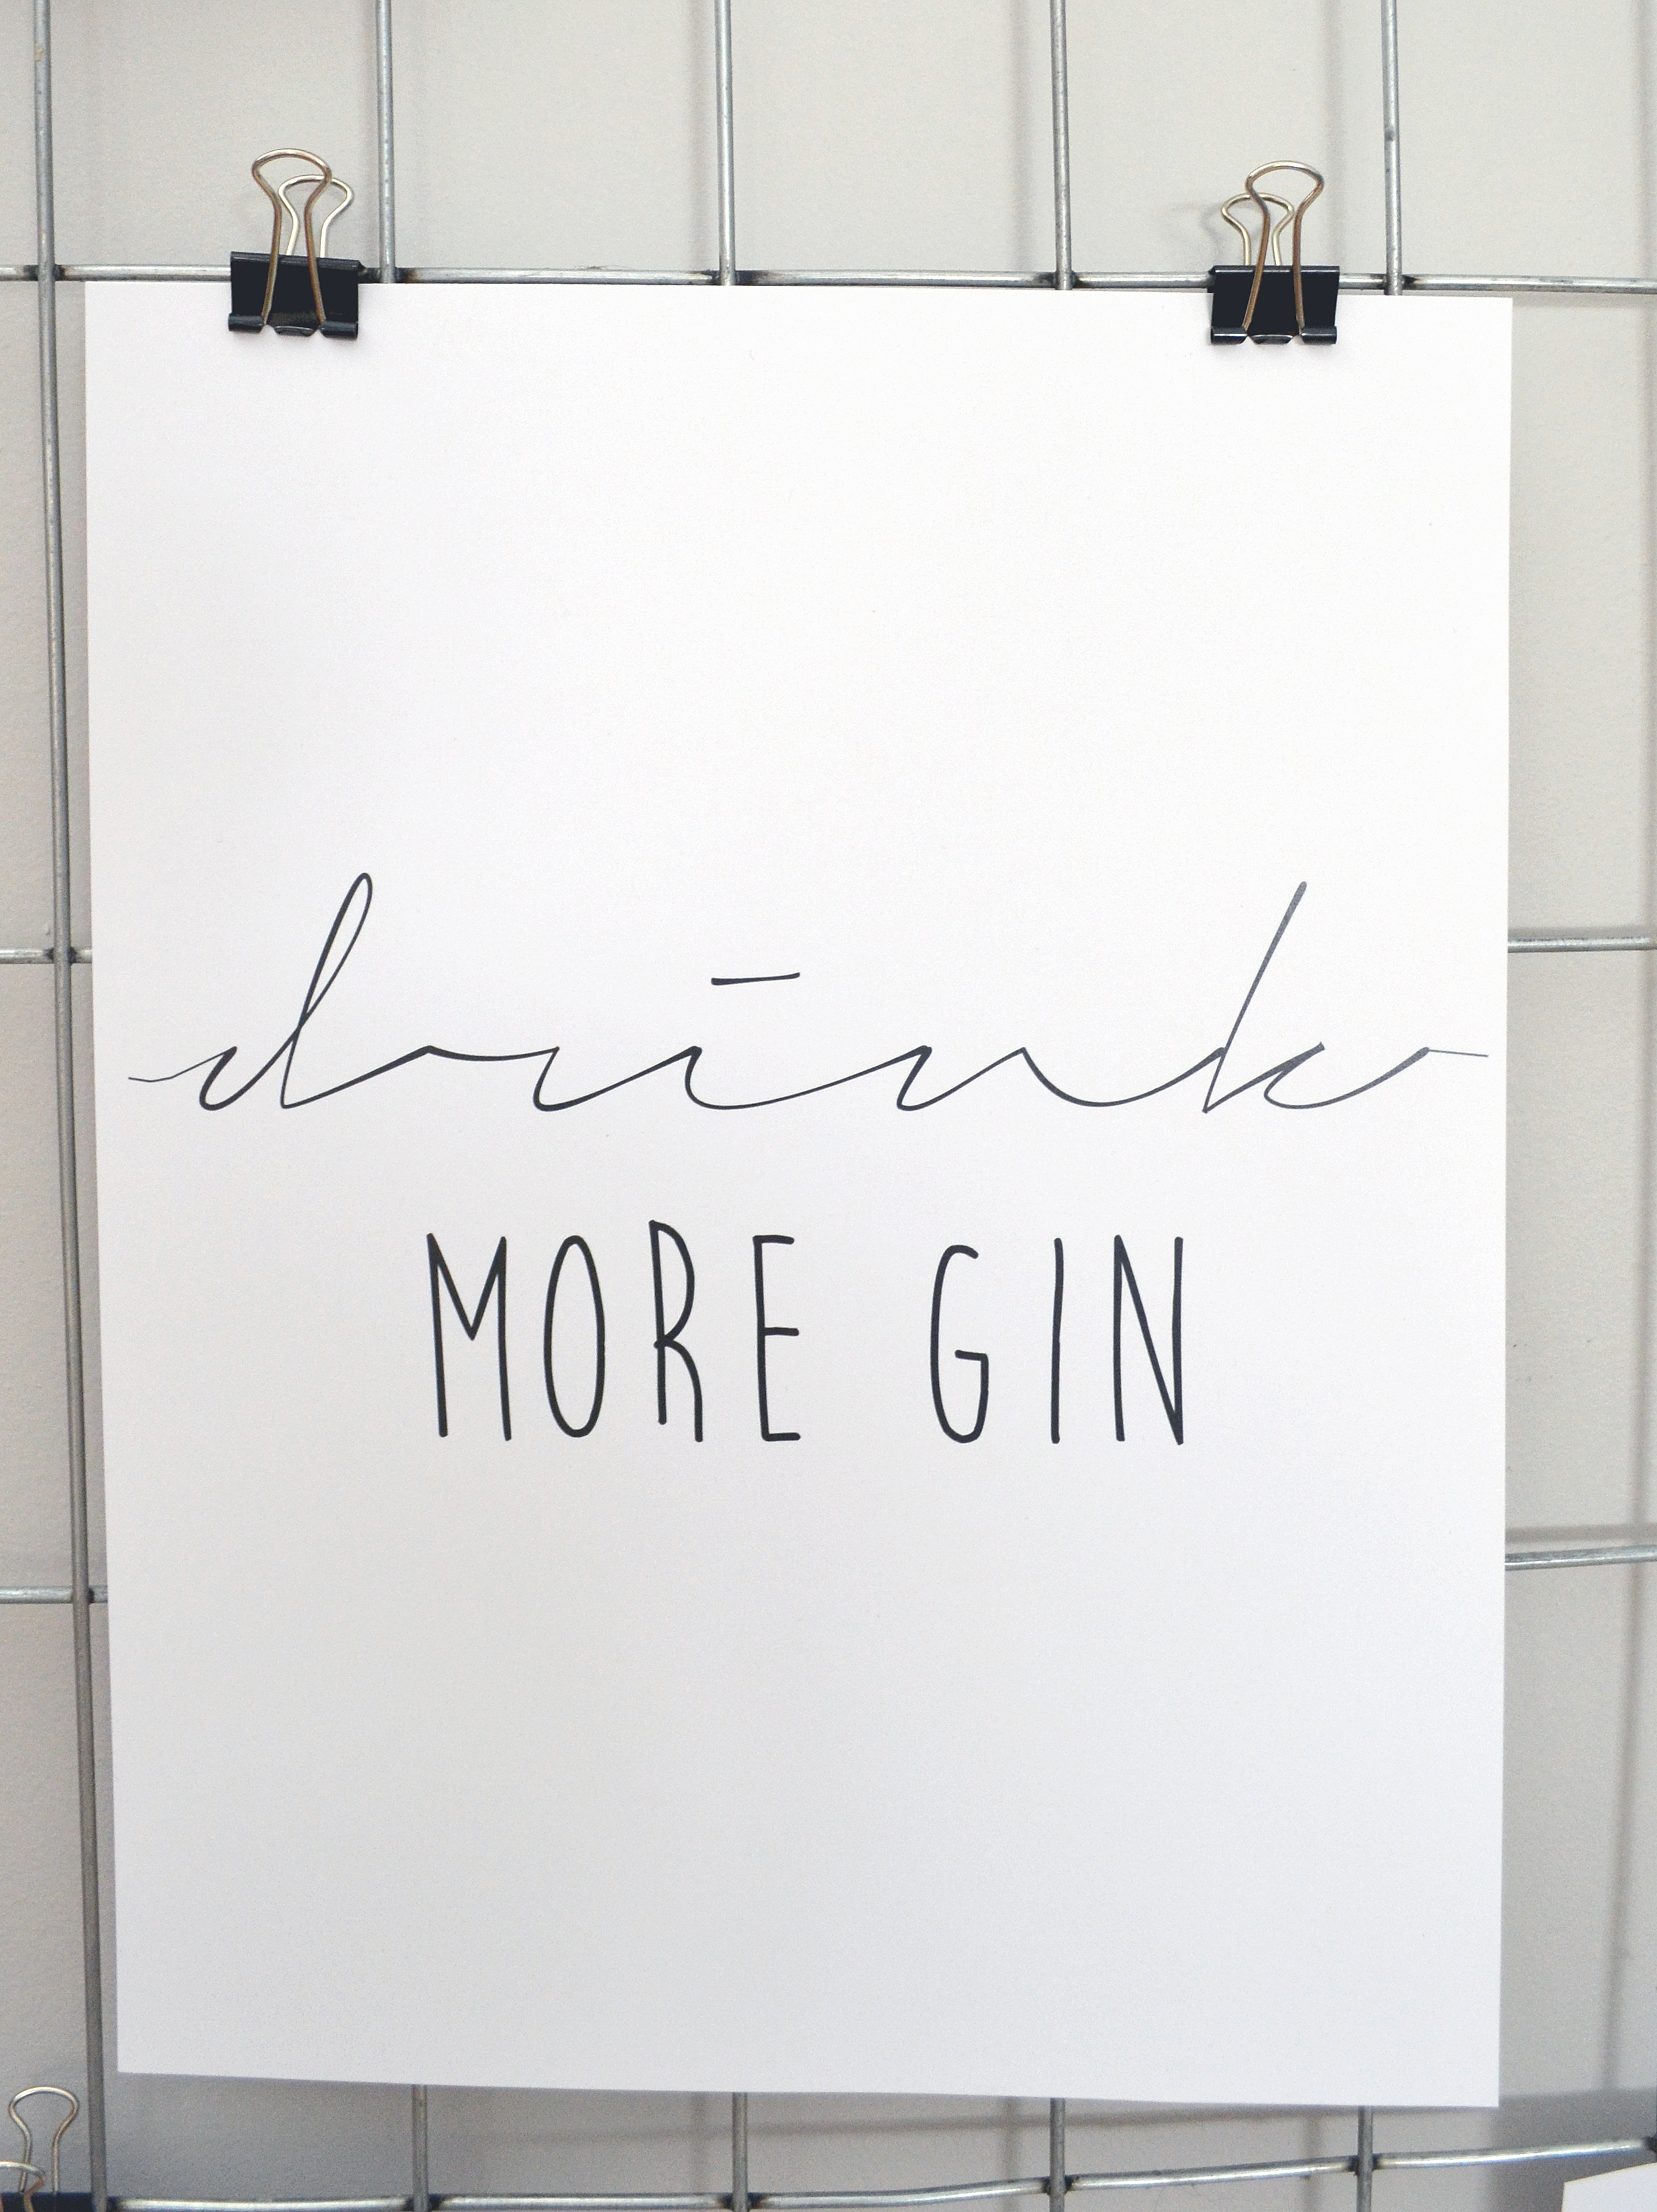
Get This Free Drink More Gin Printable
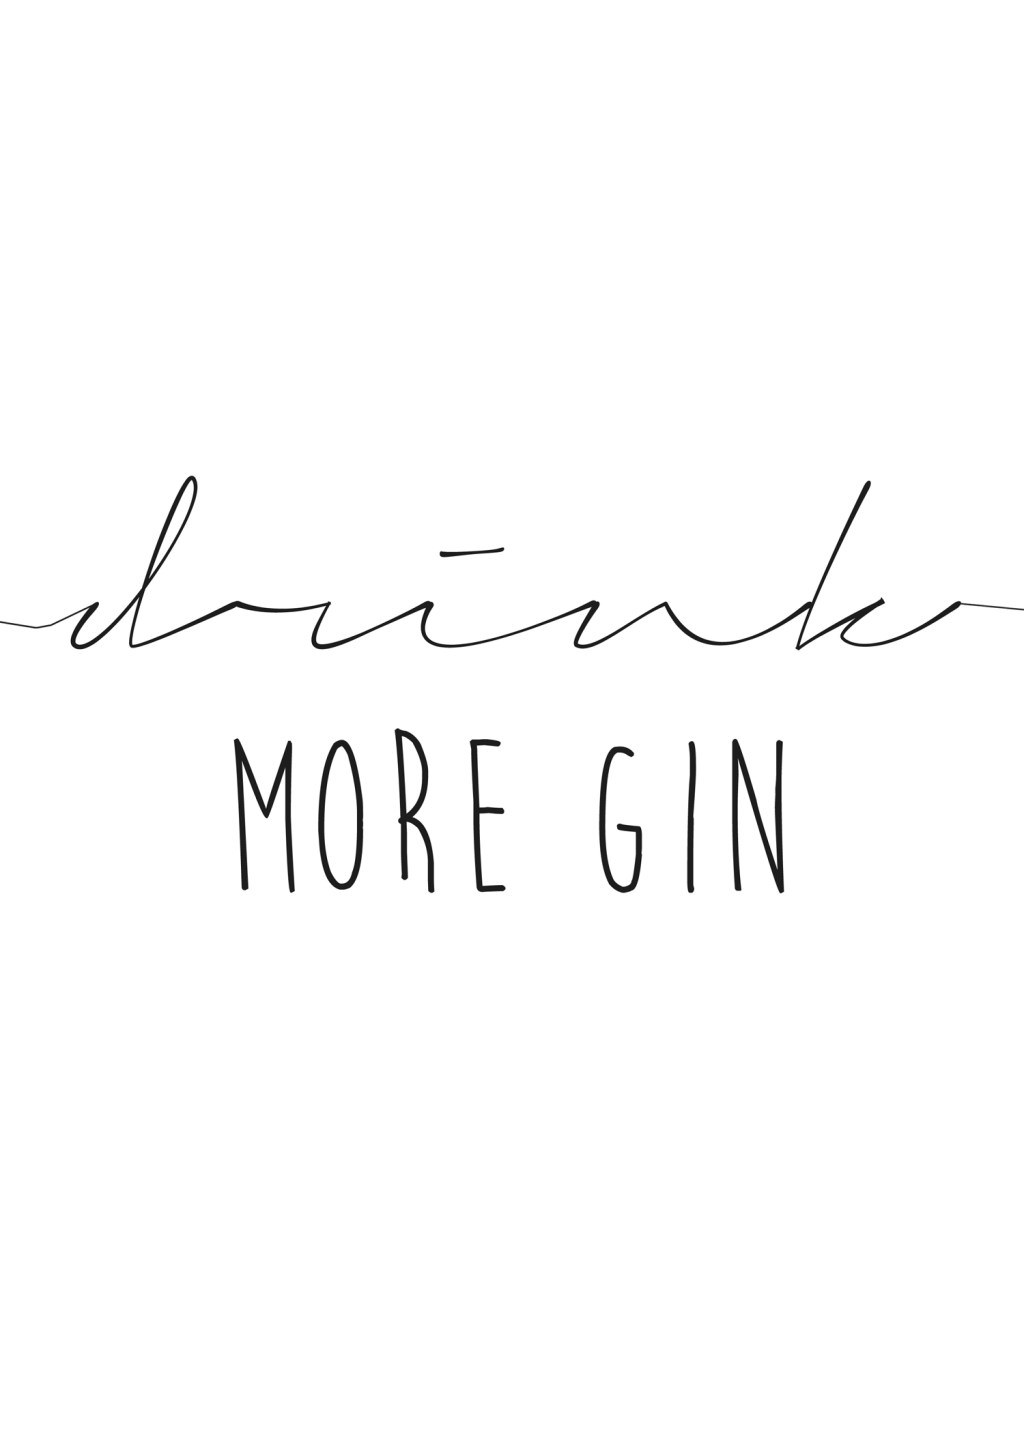
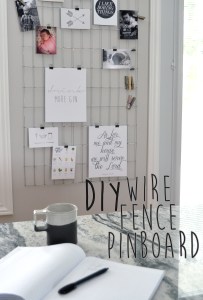
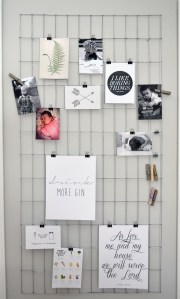
If you visited over the weekend you were probably reading about the cool wire fence pinboard that I made for my kitchen. I’m still really enamoured with it and I wanted to share some of the printables that are on it. I printed off some free typography printables and some free graphic printables. Most of them were from other websites (noted below), but the Drink More Gin printable I made myself.

I first came across a Drink More Gin printable in the form of artwork hanging in the background of a magazine home feature. It’s a fun quirky saying that pretty much sums up life for parents who don’t drink wine (just kidding… or am I?). I searched online but to no avail, a free Drink More Gin printable simply did not exist. I could buy one on Etsy or in a poster shop, but why buy something I can make myself from materials I already have on hand (i.e. paper and ink). (more…)
andy warhol, arrow art, as for me and my house, botanical printsf, crossed arrows, drink more GIN, free, free art, free printables, graphics, happiness is homemade, i like boring things, imagery, kitchen decor, pinboard, Printables, quote, typography art, vegetable roasting guide, vintage fern, wire fence pinboard -
You’ll Love This Quirky Vintage Fence Pinboard
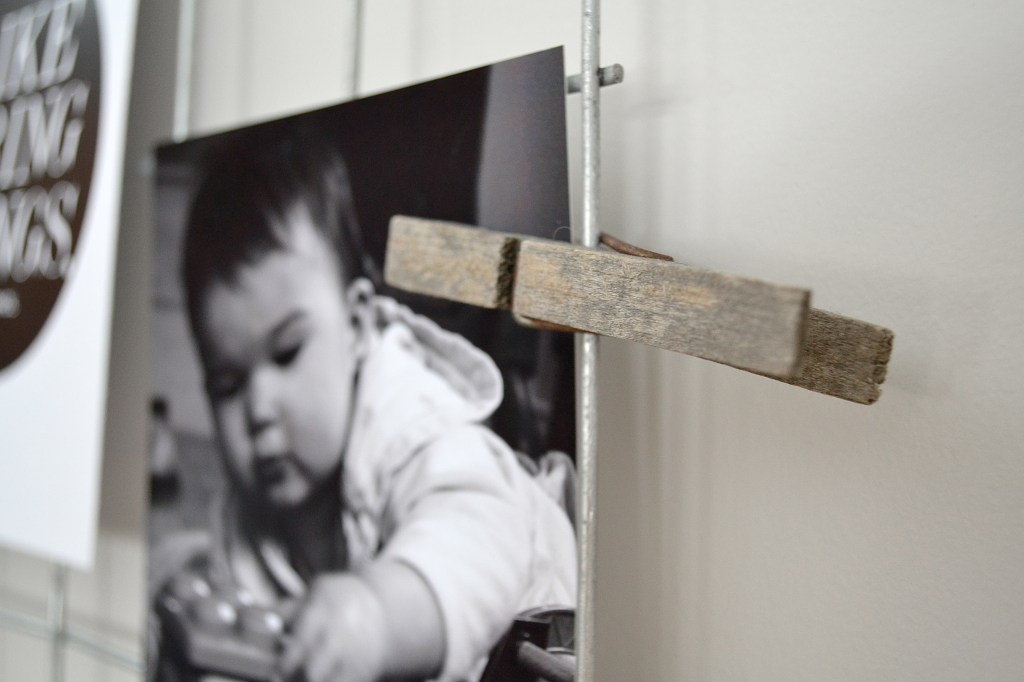
A vintage style fence pinboard made from galavanized welded wire fencing is an easy project that can amp up the wow factor of a blank wall. The straight lines of wire pinboards have a clean contemporary feel that isn’t overpowering, and they are a functional way to hang the type of art you want to be able to change quickly, like photographs or free printables.
When we redid our kitchen we replaced our appliances with stainless steel, and though having a clutter-free fridge surface is really nice, the absence of family photos makes the kitchen feel cold and empty. I kept staring around my kitchen while I was cooking dinner, thinking about how that loved and broken in feeling was missing—partly because it’s a new kitchen—but also because there were no personal photographs.
-
Mean Green Colour for 2017
Pantone just announced that their 2017 Colour of the Year is going to be Greenery, a punchy “tangy yellow-green” that is much more enlivened than the pastel hues that dominated the 2016 Pantone Colours of the Year (Rose Quartz and Serenity). Expect to see vibrant yellow greens pop up home décor this year, but some people are already ahead of this oncoming trend.
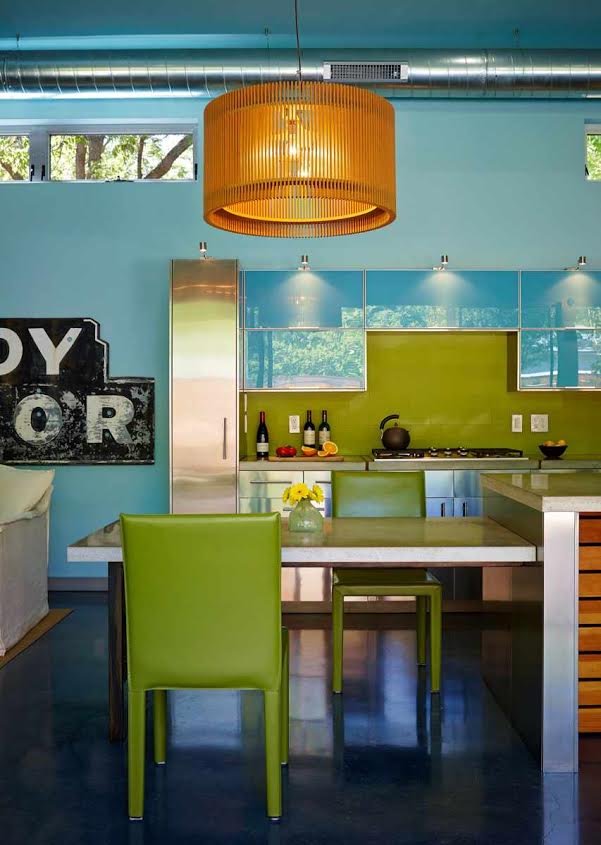
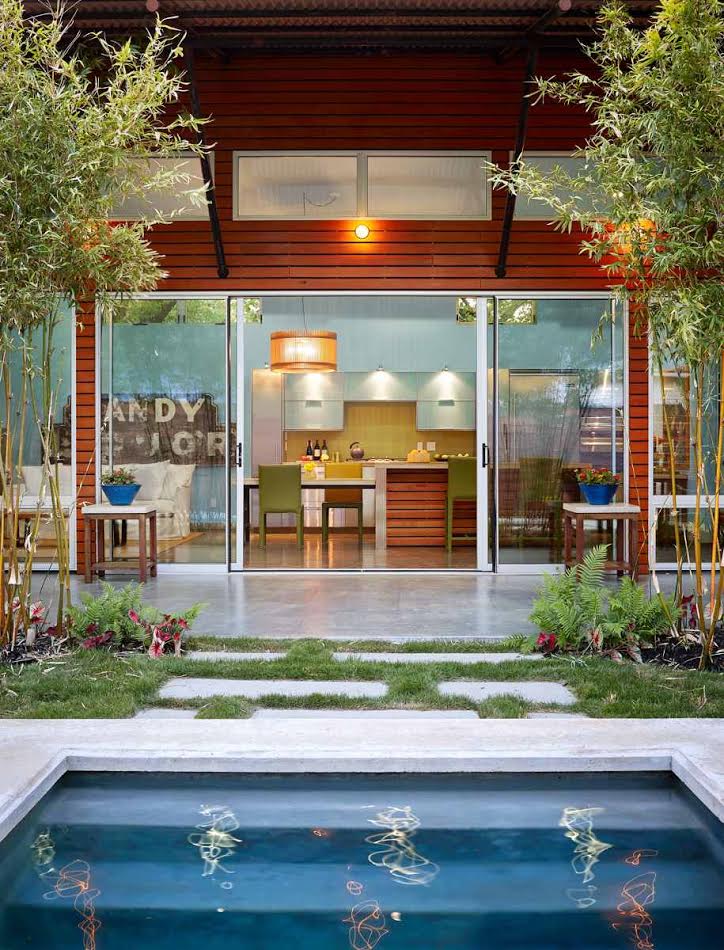
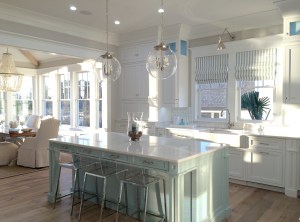
This fun and colourful contemporary Peach Street kitchen, designed by Craig McMahon Architects, is full of edgy inspiration that already makes hard-work of a yellow green very similar to Pantone’s Greenery. The bold contrast of the stainless steel cabinetry to the Greenery paint is balanced by soft hues and wood tones. A quirky vintage sign pulls the look together. You can replicate this kitchen style in your own space by focusing on colour and finishings.
I really love this kitchen’s style because its fun and youthful. Green typically isn’t my colour (I’m big on neutrals), but it gets along so well with the blue walls and blue-undertones in the steel cabinetry and countertops. The upper cabinets are not blue, by the way, they are reflecting the light from the exterior of the home through the glass wall behind the photographer.
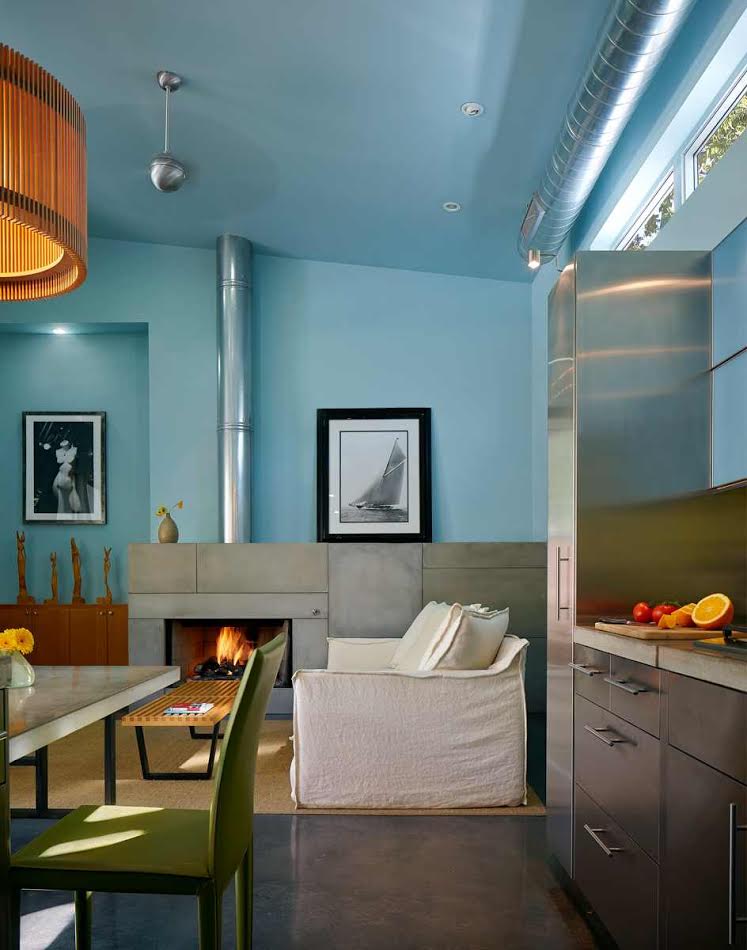
Duplicate This Kitchen’s Style:
1. Get A Statement Light Fixture
The wood slatted drum light that functions as a chandelier above the breakfast bar is a key component of the design. Eglo’s Roverato line, featuring wood slats with a glass inner shade, is a very similar look.
2. Match The Backsplash
The kitchen’s glossy green backsplash can be brought to life in your home with a green glass subway tile. Subway tiles, with their classic clean lines, are an easy to install and economical option for kitchen backsplashes. You could opt for a standard 3×6 tile like the one pictured (left) from Modwalls, or a slimmer 1×3 (right) by Susan Jablon.
3. Get A Handle On Steel
Cabinet pulls make a big impact on a kitchen. These sleek timeless contemporary pulls from Richelieu are available in a variety of lengths and suit the stainless steel cabinetry and appliances.
4. For The Love Of Chairs
Crate & Barrel’s Folio Bonded Leather Dining Chair in Kiwi is a fun and functional eye-catcher. With a green to match the backsplash and simple straight edges, it’s a great addition to the kitchen.
5. Add Some Black
Without getting too cliché, black is back; matte black in particular. It’s very hot for 2016 and in a statement kitchen like this one the dark neutral tones will ground the design and balance the strong colors. In the Peach Street kitchen a black kettle, fruit bowl and vintage art piece provide relief from the greens, blues and metallic tones. Consider a fun fluted black fruit bowl from Royal Copenhagen or these oversized vintage inspired black letters from Restoration Hardware.
-
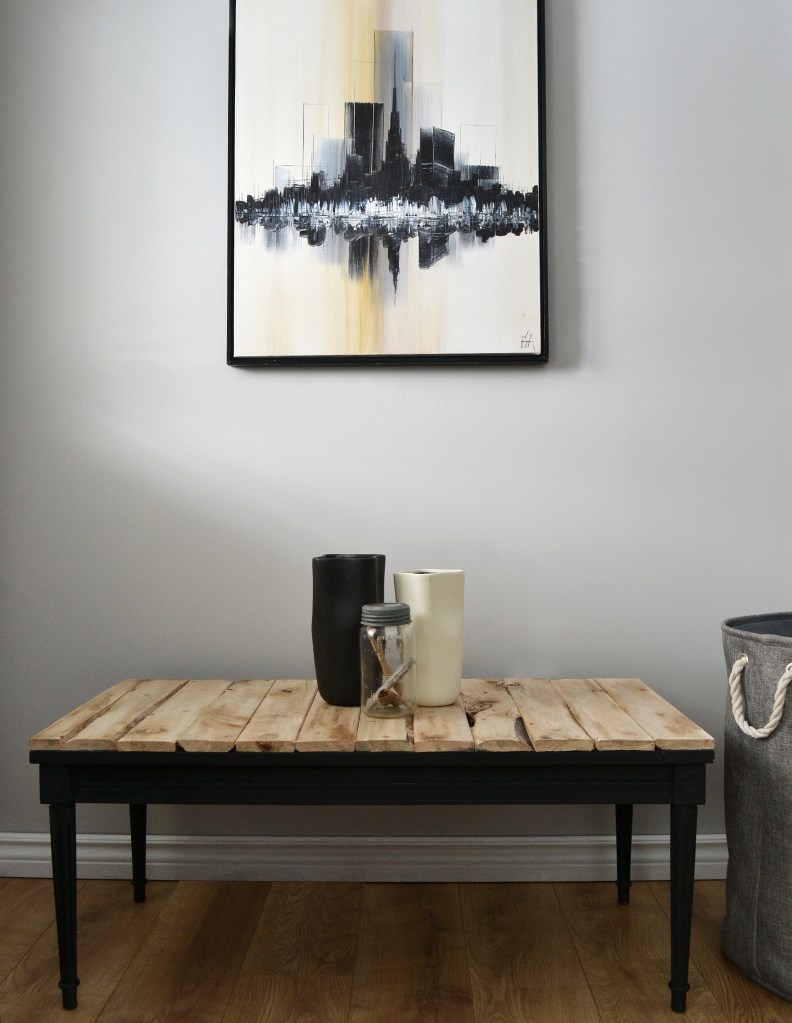
DIY Pallet Top Coffee Table
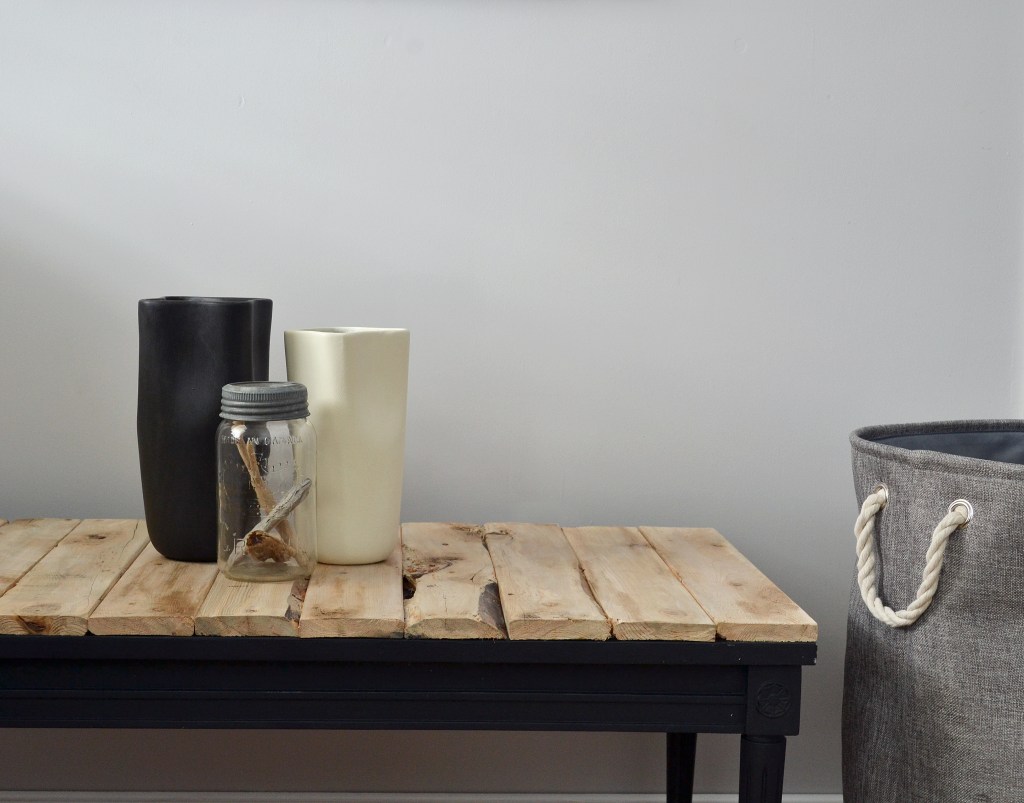
Do you ever shop your own house? If you don’t, you should. It’s a great way to spruce up your home’s design without buying more things or spending more money. Sometimes items simply need to be moved to breathe new life into them, sometimes they need tweaking. With a little house shopping and some salvaged pallet wood I was able to transform an old table into a rustic-inspired DIY pallet coffee table in our living room.
This little wooden coffee table has had a home in my basement for two years. Most recently it was styling itself as a turquoise number. It’s vintage, I think, and has been painted a dozen times. I often wonder what kind of wood would be revealed underneath if I had the patience to strip and sand it down. This table was about to solve all my living room woes as the main character in a makeover and swap.
Meet our living room table. She’s just not right post-reno. She’s too red, too traditional, too… big. This table is just no longer working for me, mostly because it is weighing down the room.
The plan I hatched was to paint the little turquoise table matte black. I used Annie Sloan Graphite mixed with a bit of matte black chalkboard paint to darken the hue (I had both of which on hand, bringing the grand total spent on this project to $0.00). The living room already had some black accents, and I thought a matte black table would kick things up a notch. I was so wrong; it was an epic lacklustre fail. In the end I was saved/inspired by Jen O’Brien at City Farmhouse, who has a pretty sweet coffee table with a planked top in her living room. And, suddenly I knew what to do: I would plank the top, turning it into a DIY pallet coffee table, adding infinite levels of texture and tone.
Now, knowing what to do and actually doing… not the same thing. I’ve never taken on a pallet project before because a) I didn’t know where to get one b) I didn’t feel the need and c) I’d read some gross stories about dirty gross pallets and chemicals and dirt. But, I said WTF and sped over to our local lumber yard, where I proceeded to berate a slightly alarmed employee until she pointed out a pile of old pallets that I was welcome to scavenge from. My luck ended there, because as I was about to find out, prying angry rusted nails out of wood is not so much fun as impossible hell.
TIPS TO REPLICATE THIS TABLE:
1. Acquire a circular saw and learn how to use it.
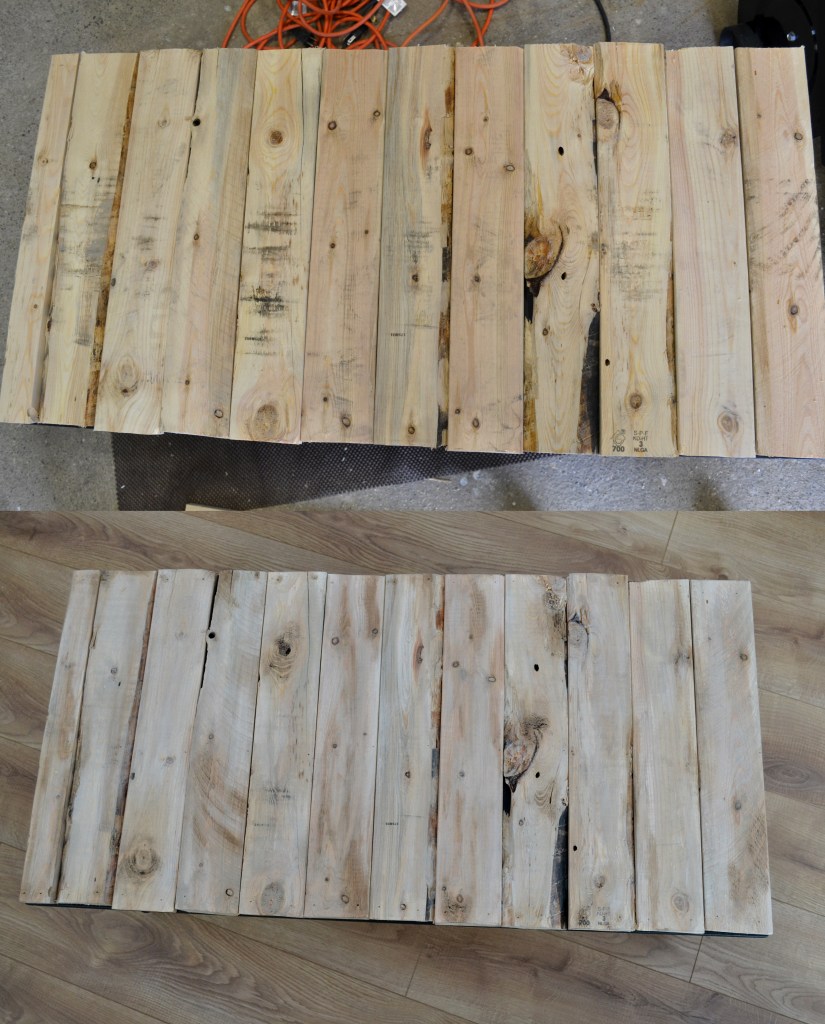
Unfortunately, for my 17-year-old inner self, I had to get over my long-standing fear of powered saws for this project. Prying apart the pallet was just not going to happen. The more force I applied, the more moody my pallet became. It would rather have splintered into pieces than be disassembled. A circular saw was the simplest answer, and within 5 minutes I had sliced all the wood of that pallet. Jenn 1: Pallet 0.
2. Use A Brad Nailer
I quickly attached all of the planks with a brad nailer, four nails to each pallet.
3. Paint Washes Are Your Friend
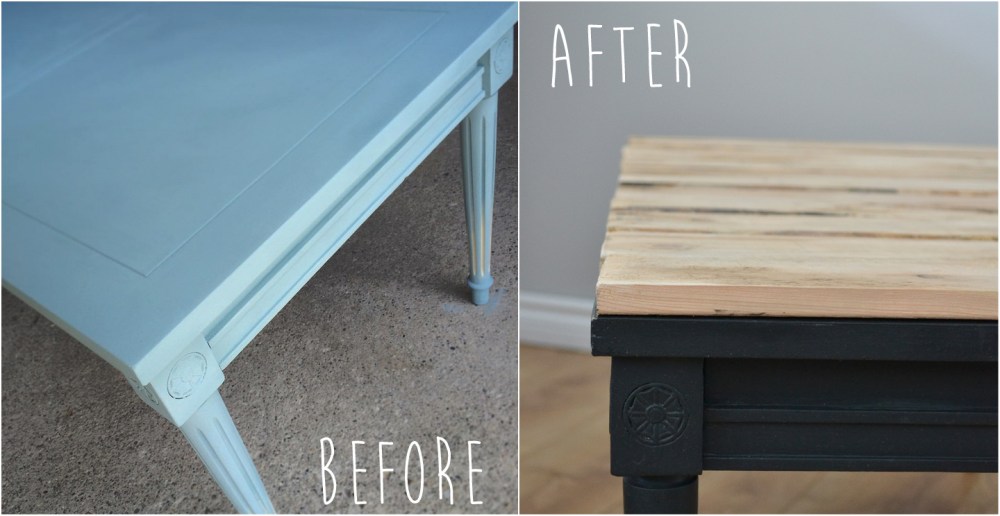
It turns out this pallet, which seemed so old, forlorn and perfect in the lumber yard, was hiding behind the smoke and mirrors of a rainy day. By the time it dried off in my garage I was forced to face the undeniable truth: this pallet was not nearly as old as it pretended to be with its rusty nails in that sodden lumber yard. I was most displeased. But, I have an old friend named Annie Sloan, and she had my back. A little left over Old White, a little left over CoCo, a wash cloth and a small cup of water and we were on our way to a washed, drift-wood, aged look. As you can see below, the top image is BEFORE and the bottom is AFTER the washes and wax. The colour is more much more neutral and the wood more distressed. I obviously cleaned the horizontal grease marks off.
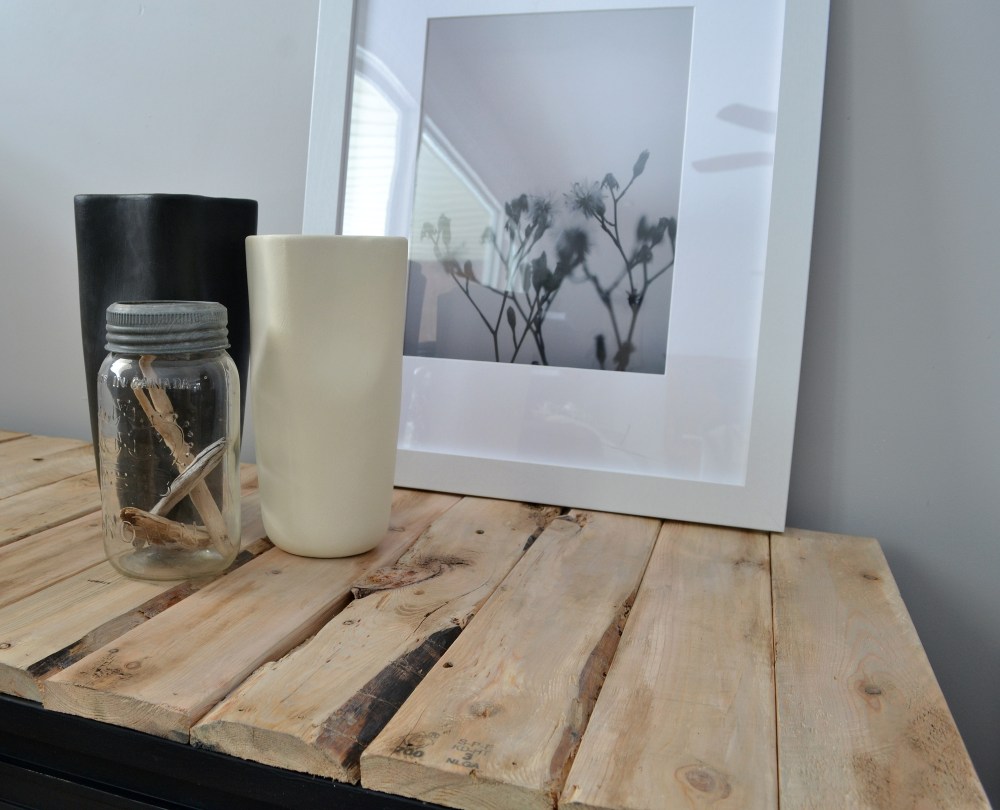
4. Go Wild With Dark Wax
Strictly speaking this is not a painted top. There is some paint washing on it, but generally it is a lot of bare wood. You can definitely use dark wax on bare wood, but it’s not something people generally do. Judiciously applying dark wax helped me to magnify the texture of the wood and highlight the knots and tonal irregularities. It is definitely an important step in creating a most distressed aged wood finish.
5. Seal The Table
I used clear wax to create a seal on the table top. It transformed the rough surface, giving it a smooth water repellent feel, without changing the sheen. I obviously didn’t want to give this table top a glossy sheen, as I was going for the look of bare naked wood. I didn’t buff the wax, and let if cure before moving it upstairs.
The main reason I took on this weekend project was that there’s nothing specifically wrong with our old living room table, and I couldn’t bare to get rid of it, or spend money to replace a piece of quality furniture. It’s a great table. In fact, its a solid wood and Canadian made. It’s super functional and pairs great with the piano (which I wish I could do something about). It has a matching end table that didn’t fit in our new space. This table, and its matching side table cousin now look great in my basement with our grey couches. It was the perfect makeover and swap! Do you see those greige toss pillows with the oversized button? I swapped them downstairs too, onto the grey couches, sweetening the deal.
-
Contemporary Coastal Home Tour On Daniel Island
Today I’m very excited to bring to you our first home tour here at The Crux. I’ve been on the lookout for the right home for a while, and when I connected with interior architect and designer Christyn Dunning of The Guest House Studio, I knew immediately I had found it. This chic coastal inspired Charleston home, built by Roy Mahshie Homes, is brimming with on point trends for 2016—from the fun living room accent chairs, the contemporary kitchen island, the oversized glassless lantern pendants, the natural fibre area rugs, to the shiplap walls and ceiling details.
When the home owners hired The Guest House Studios they were knee-deep in their build but struggling to make final decisions about finishing, flooring (oak hardwood with a grey wash), trim details, colours, etc. (more…)