It’s a wrap on week four of the One Room Challenge and this week I’m sharing a DIY project for you guys. This DIY towel bar, hook and toilet paper holder project was an idea inspired by some tutorials for making your own budget-friendly lucite towel bars. I’ve given the concept a wood twist to customize the look of my bathroom makeover with some help from the folks over at Urbanest Living.

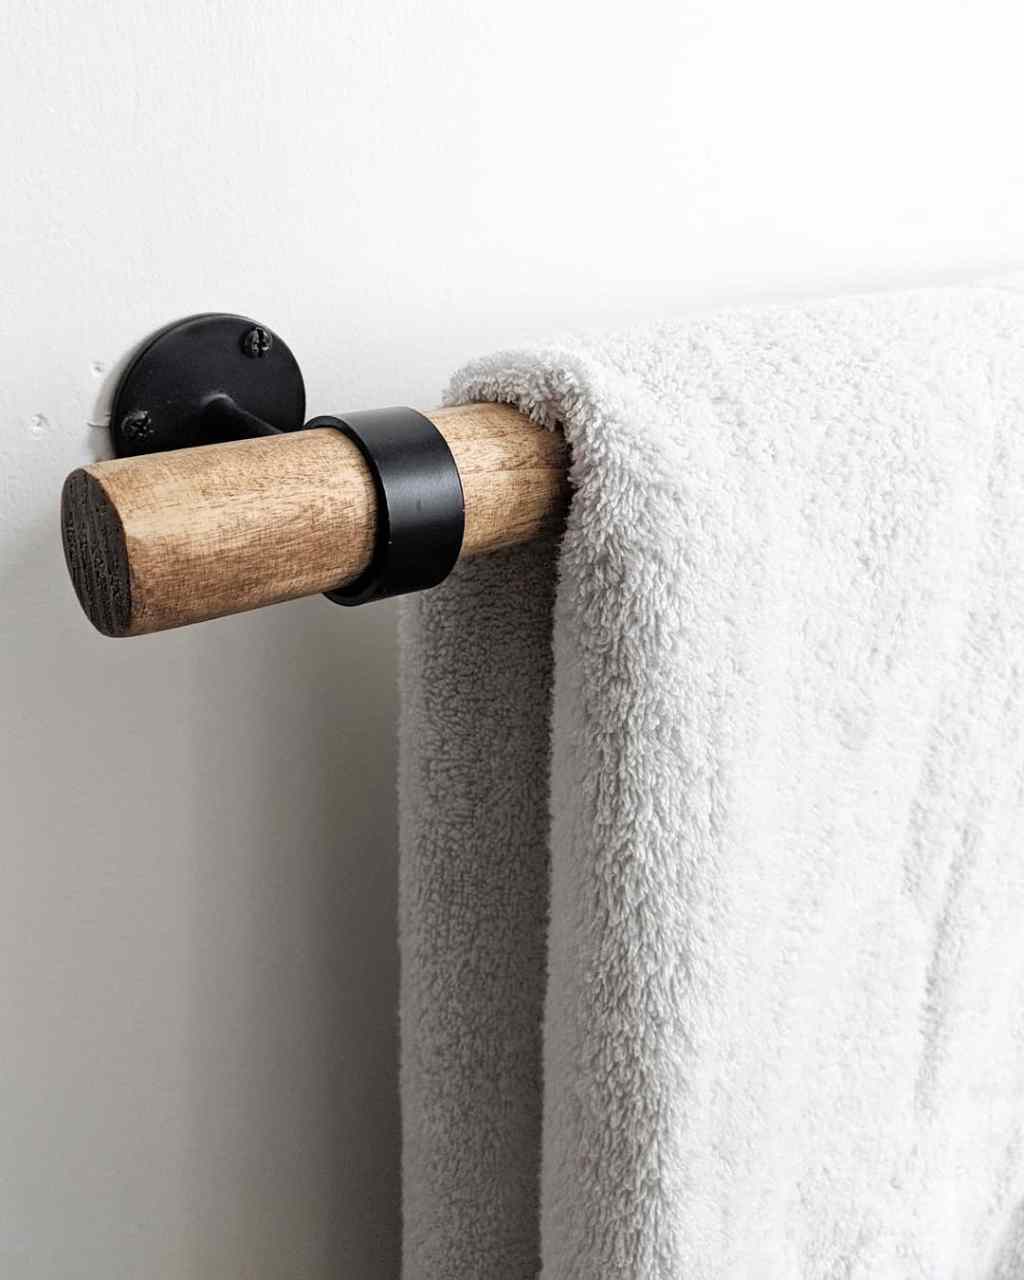
I really wanted a very specific wood and black look for my towel bar, towel hooks and toilet paper roll holder. I also wanted the wood to be stained to match the other wood elements in the bathroom makeover. To make this project happen I needed something very specific: matte black ceiling mounted curtain rod holders, which I sourced from Urbanest Living. This was such an easy DIY with huge impact for my One Room Challenge bathroom.

DIY Towel Rod and Toilet Paper Holder
MATERIALS
- ceiling mounted curtain rod brackets in size 1 1/8″
- 1 1/8″ wood dowel
- chop saw
- measuring tape
- stain (I used Verathane gel stain in Provincial)
- wax or clearcoat
- fine grit sandpaper (220+)
- Philips screwdriver and drill
- level
INSTRUCTIONS
STEP 1. Decide on the length of your towel bars, hooks and toilet paper roll holder. Each of my pieces has a two inch overhang on the ends.
Towel bar: 23″
Towel hooks: 4″
Toilet paper roll holder: 9″
STEP 2. Measure, mark and cut the dowel into the correct lengths. The dowel will already be fairly smooth, but use a fine grit sandpaper to clean up the cut edges and remove any markings on the dowel pieces.
STEP 3. Stain the dowel and let dry. Follow the instructions on the can of stain. Make sure to seal the wood with a wax or poly clear coat. You don’t want any stain residue marking up your towels!

STEP 4. Take a look at your brackets. Each bracket will have a small screw set in it. This is how you will tighten your dowels in place and secure them. Because the dowel is made of soft wood you will be able to hand turn the screw into the wood with a Philips head screw driver.
Place the brackets on the dowels and figure out how much overhang you would like. As I said, I used a 2″ overhang.


STEP 5. Mount to wall using supplied anchors and screws. You will need a long drill bit to screw the brackets to the wall. If it’s easier you can secure the dowels after your brackets have been mounted to the walls instead of before. Make sure you use a level!


Easy peasy lemon squeezey. Make sure to follow along on Instagram!

